HostGuard
HostGuard is a control panel that allows you to manage VPS's much like SolusVM and Virtualizor.
Supported Operating Systems:
Step 1
You will need to provision your server to use one of the above operating systems
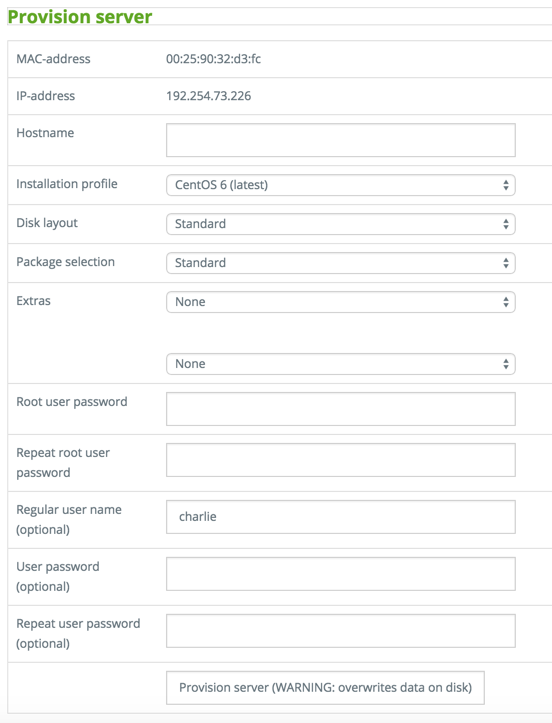
Step 2
You will need to run the following commands to install the HotGuard software.
rpm -Uvh http://repo.hostguard.net/hostguard-release-1-1.noarch.rpm
yum -y install hostguard-server
yum -y install hostguard-iptables-node
Step 3
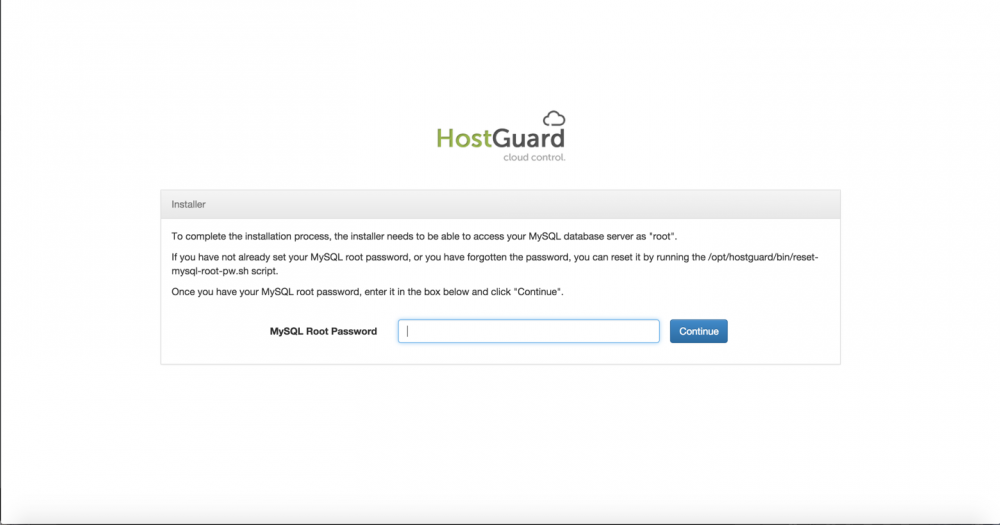
Once the install is complete you will be able to navigate the the control panel by visiting your IP in a browser. You will be presented with the following page.
If you haven't set up a MYSQL root password you will need to run the following script.
/opt/hostguard/bin/reset-mysql-root-pw.sh
Once you have set your password you can enter it in the following field.
Step 4
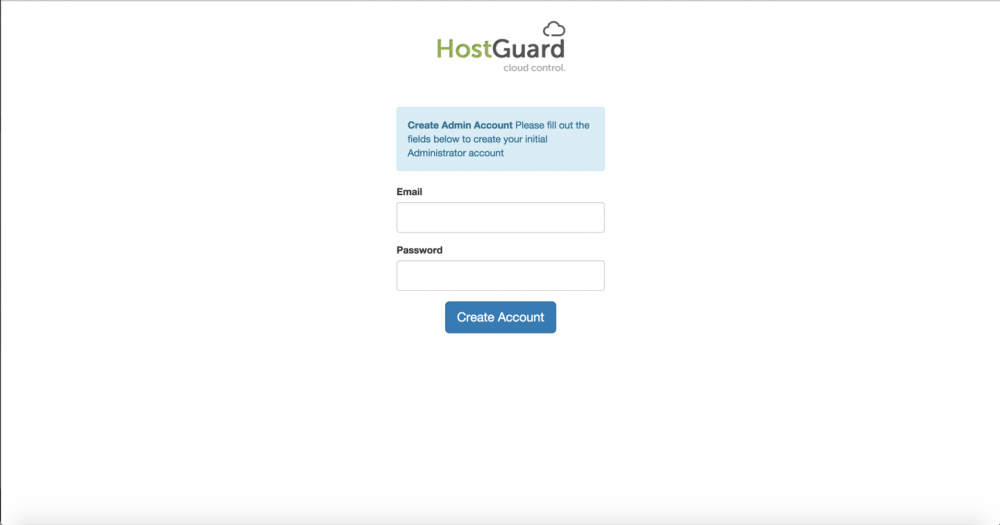
Now you need to create an Admin account to access the panel for HostGuard. Enter your email and a desired password.
Step 5
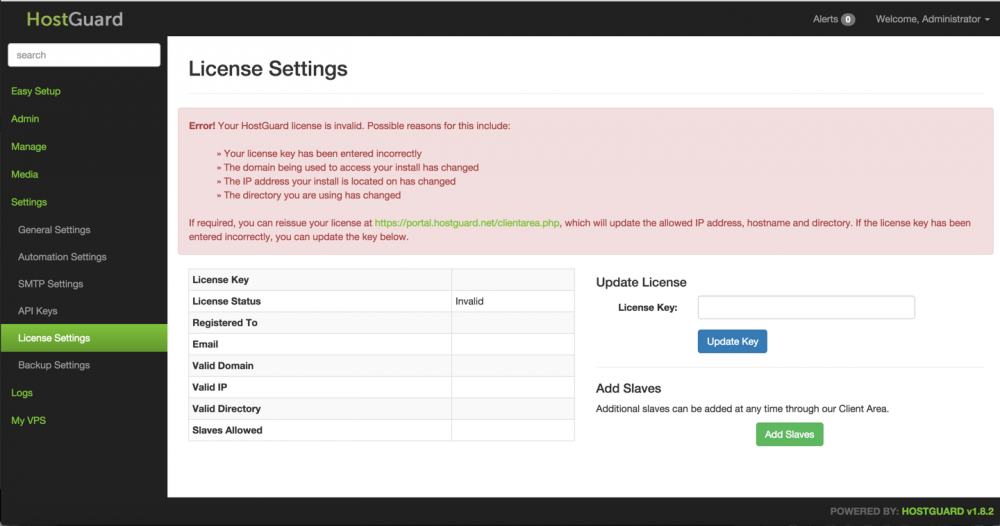
You should now be redirected to the Admin panel where you will now need to add a license key. If you don't already have one you can grab a free personal / evaluation license from here.
Step 6
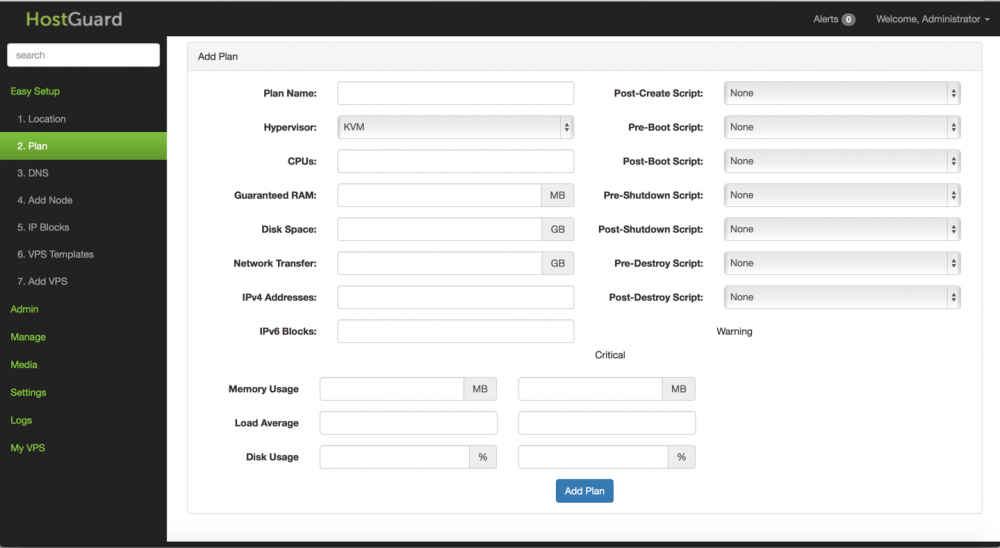
Now you need navigate to the "Easy Setup" tab and click on the "Plan" link to set up a VPS plan with your desired resources.
Step 7
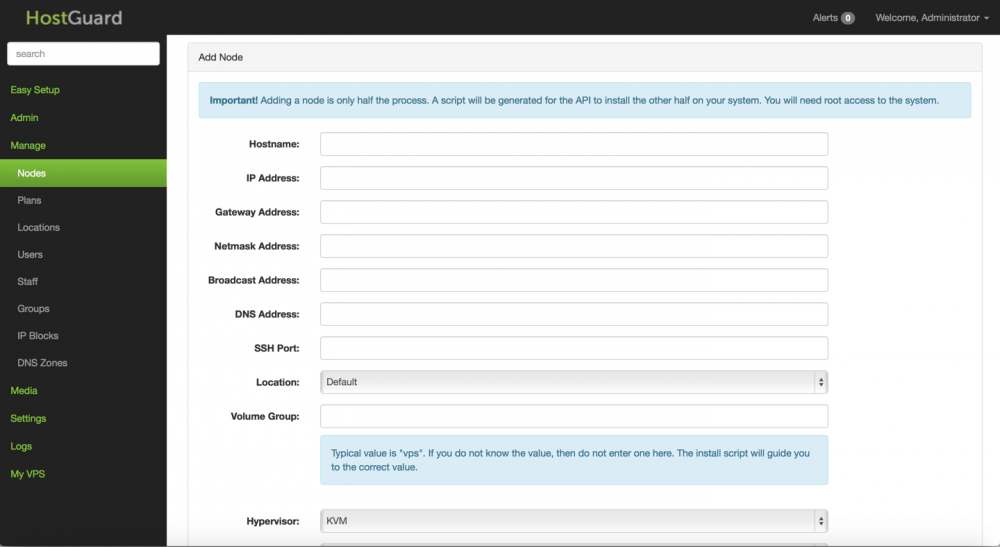
Next you need to navigate the the "Add Node" link and click the "Add Node" on the top right of the page. Now you need to fill out the form with your server information which you should have received when it was delivered.
Step 8
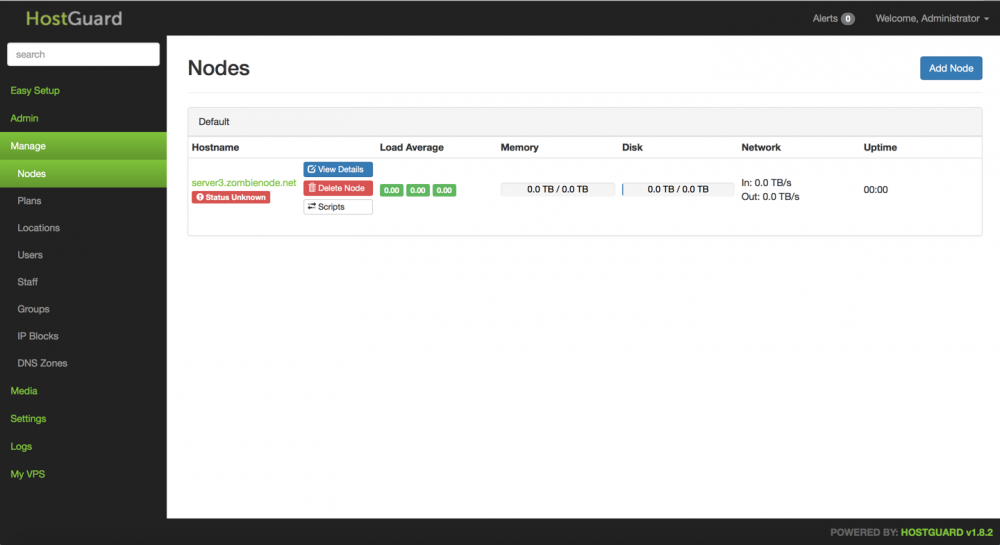
Now when you visit the "Nodes" page you should see a server there. Now you will need to click on the "Scripts" button to proceed to set up virtualization on your node.
Step 9
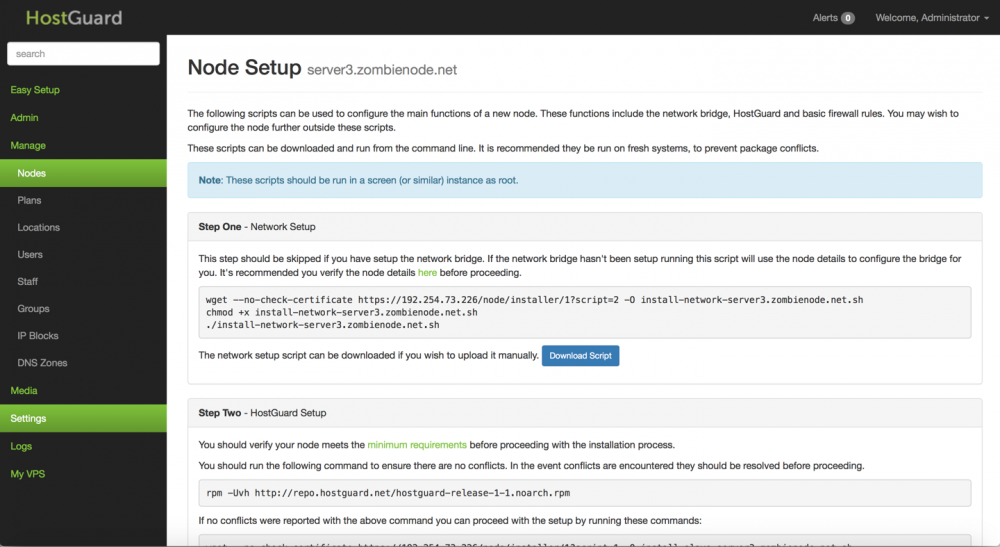
Now you should be presented with the "Node Setup" page. You will need to run the scripts presented on your copy of HostGuard.
Step 10
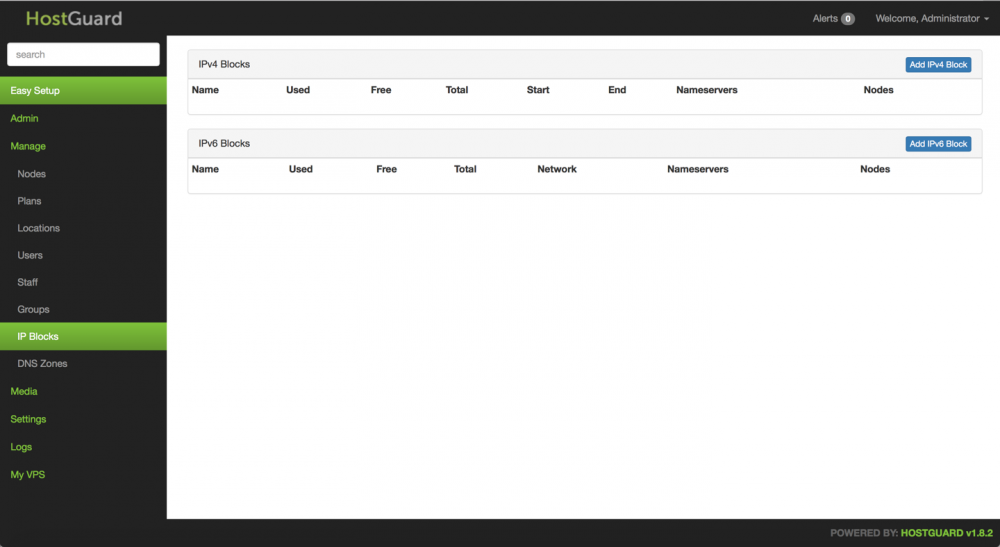
Next we need to set IPs. You can click Add IPv4 block and fill out the information for your block. Dacentec also offers IPv6 Free of charge if you submit a ticket. Once you have your IPv6 you can add the block to HostGuard as well.
Step 11
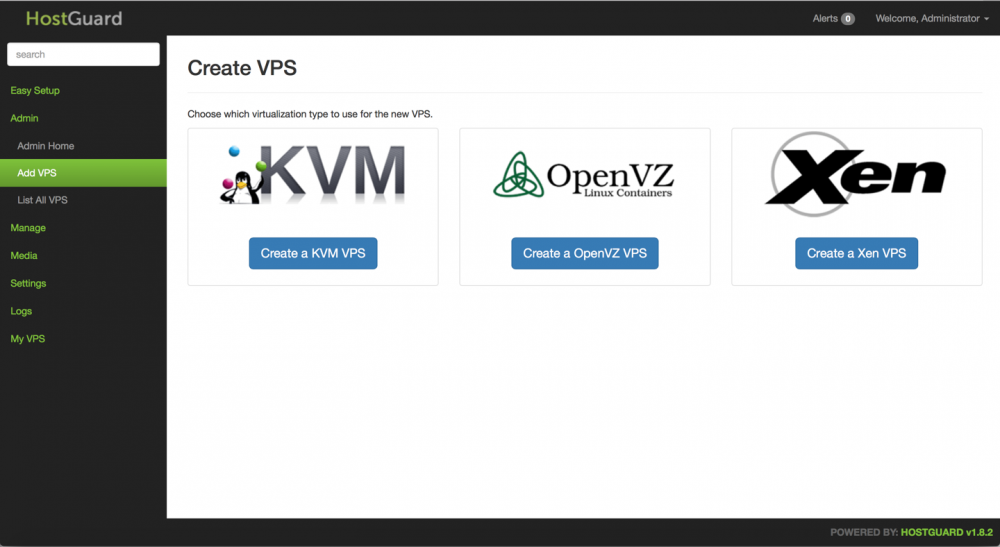
Now that we have everything set up we can now set up a VPS. You will need to navigate to the "Admin" tab and then the "Add VPS" link. Once you are there you can select the virtualization type you had set up on your node and create your VPS.
