InterWorx
From Dacentec
InterWorx is a powerful control panel web hosting control panel. InterWorx is a great alternative to cPanel as it offers many of the same features.
Supported Operating Systems:
Step 1
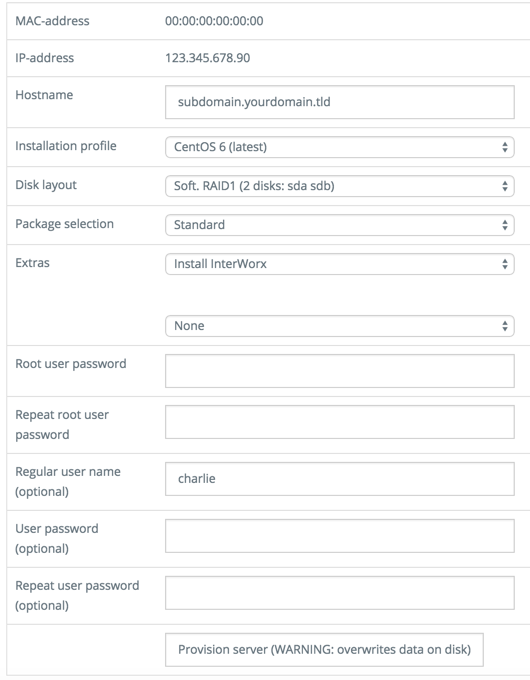
You will need to provision your server to use one of the above operating systems and in "Extras" choose "Install InterWorx".

Step 2
Once your server is finished provisioning you can simply start the setup by using one of the following links. (Replace "your-ip" with your actual IP)
http://your-ip:2080/nodeworx/ or
https://your-ip:2443/nodeworx/
Step 3
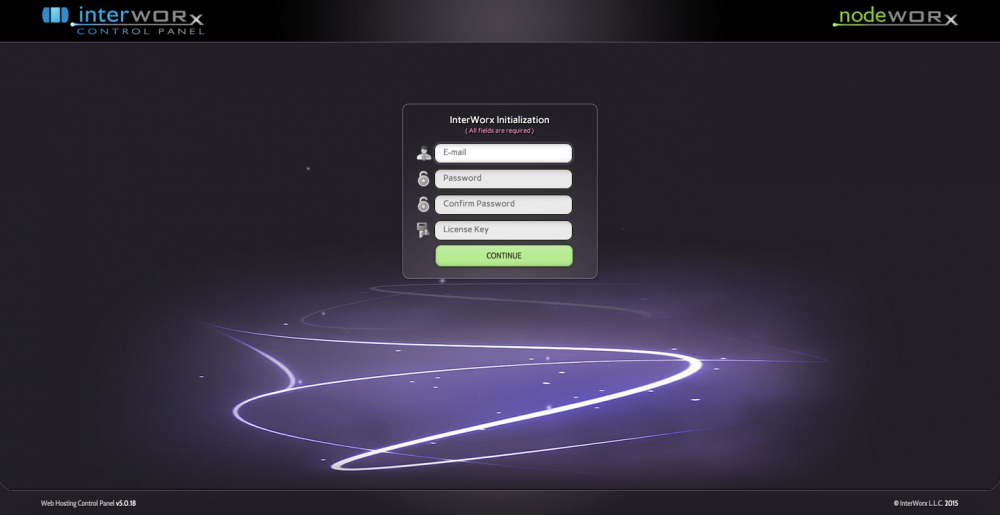
When you visit the panel for the first time you will be presented with the page below. You will need to enter your email, password, and license key. If you do not already have a license you can grab a trial one from here.

Step 4
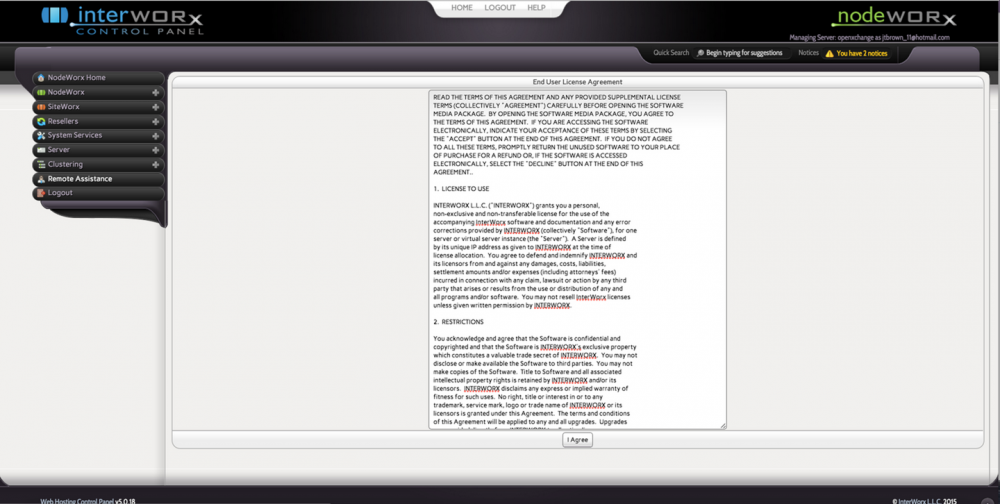
Once you have filled out the information needed you can proceed to the final steps. When you login for the first time you will be presented with the following agreement. You will have to agree to it to proceed.

Step 5
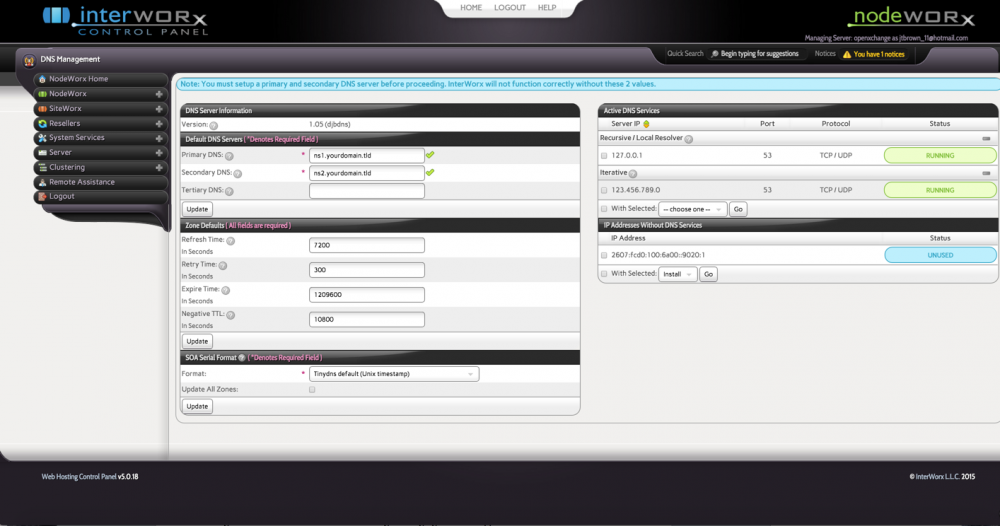
Before you are able to start using InterWorx you will have set your "Primary DNS" and "Secondary DNS." The "Tertiary DNS" is optional. Once you have filled out those values you can click "Update" and start using your InterWorx Control Panel
