Virtualizor
Contents
Compatibility
Softaculous Virtualizor is a powerful VPS Management Panel. Virtualizor supports OpenVZ, Xen Paravirtualization, Xen HVM and Linux-KVM virtualization. By using Virtualizor, admins can create a VPS on the fly by the click of a button. VPS users can start, stop, restart and manage their VPS using a very advanced web based GUI. Pre-requisites:
Before installing Virtualizor, we need to make sure few things: 1) First we need to make sure the supported version of Operating System is installed. Following are the supported OS: CentOS 5.x / 6.x / 7.x or Red Hat Enterprise Linux 5.x / 6.x or Scientific Linux 5.x / 6.x or Ubuntu 12.04 or Ubuntu 14.04 (x86_64) Verify the version of OS by running following command: Cat /etc/issue 2) KVM does not support 32 bit operating system. Therefore, make sure that 64 bit operating system is installed. Verify the correct installation by executing following command: Uname -a 3) yum / apt-get repository is enabled 4) Make sure that VT is enabled from bios so VPS can be able to started. 5) Disable SElinux 6) Insert non-formatted text hereMake sure that server has enough Storage to create the VPS (DomUs) dis
Requirements
Each Virtualization type has its own requirements. Please refer to the sections below to see the details.
KVM Requirements
Requirements 1) CentOS 5.x / 6.x / 7.x or Red Hat Enterprise Linux 5.x / 6.x or Scientific Linux 5.x / 6.x or Ubuntu 12.04 or Ubuntu 14.04 (x86_64) 2) yum / apt-get 3) Storage to create the VPS (DomUs) disks
Notes : KVM module does not support 32 bit operating system. Please install a 64 bit OS if you want to install KVM. KVM module requires VT enabled from the BIOS to be loaded.
Partition Scheme
| Partition | Size | Description |
|---|---|---|
| / | 80-100GB | Root partition containing all Hardware Node operating system files, OS templates and ISOs |
| SWAP | 4GB+ | Paging partition for the Linux operating system(Swap memory is been used by virtual servers if there is shortage of real memory) |
| Storage | All the remaining space on the hard disk | This partition can be used to create either Logical Volumes or File Based Storage for the VPS (DomUs).
NOTE for LVM : You must NOT create any Logical Volume and MOUNT it. This must be an EMPTY VOLUME GROUP. Virtualizor will not delete any pre-existing LVs in the Volume Group. But its recommended to have an empty Volume Group. NOTE for File Storage : You must create and mount the folder. |
OpenVZ Requirements
Requirements 1) CentOS 5.x / 6.x or Red Hat Enterprise Linux 5.x / 6.x or Scientific Linux 5.x / 6.x or Ubuntu 12.04 (x86 or x86_64) 2) yum
Partition Scheme
| Partition | Size | Description |
|---|---|---|
| / | 20GB+ | Root partition containing all Hardware Node operating system files |
| SWAP | 2 times RAM | Paging partition for the Linux operating system |
| /vz | All the remaining space on the hard disk | Partition to host OpenVZ templates and Virtual Private Servers |
KVM Installation
Installing Virtualizor is prety simple. This article will guide you through the intallation.
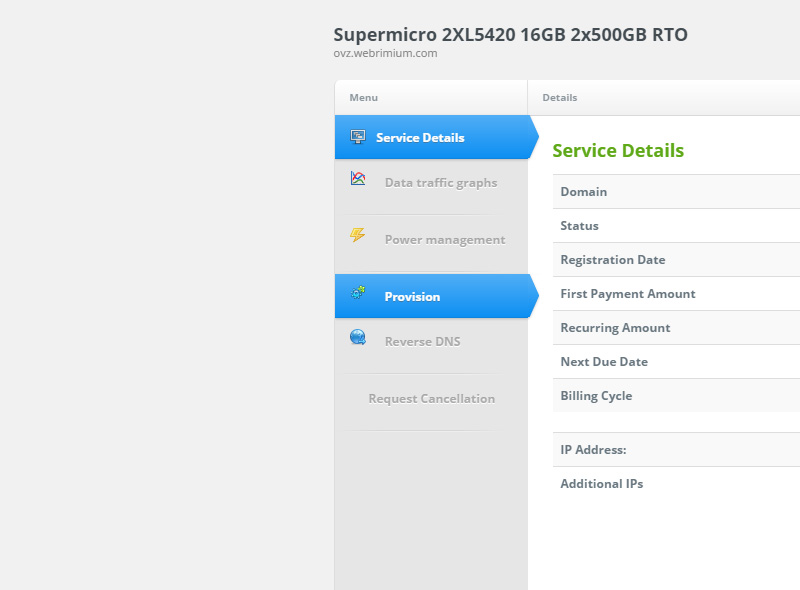
First navigate to your services through Dacentec client area and hit the dedicated server that you want to install Virtualizor. On the left side click "provisioning"
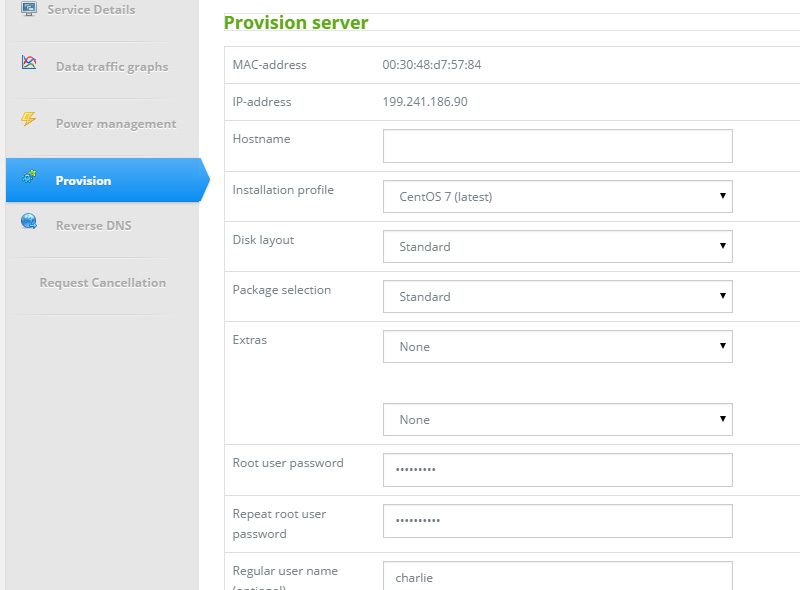
Here you will be asked to choose the Operating system, partitioning, hostname etc. For this guide we will use CentOS 6 (latest). Note: Choose the correct partitioning depending on the Virtualization type that you are going to use (OVZ, KVM, XEN)
(Be sure that you note your root password.
Once provisioning is done we can continue.
Installation of Virtualizor is fairly simple. First open a Shell Terminal (e.g. PuTTY) and SSH to your server. Start the installation by executing following command:
     wget -N http://files.virtualizor.com/install.sh
     chmod 0755 install.sh
     ./install.sh [email protected] kernel=kvm
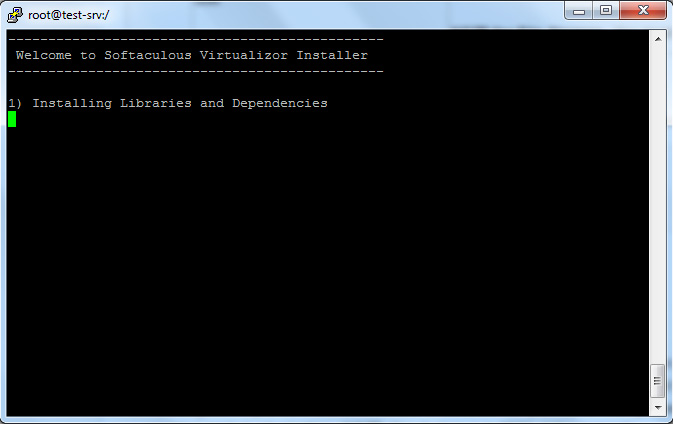
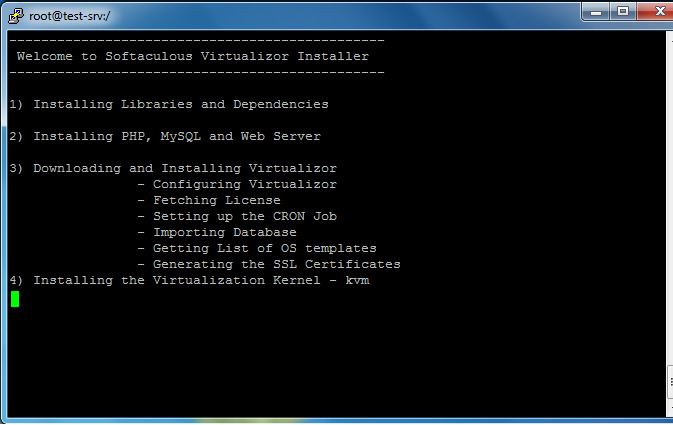
The installation will begin immediately and the given below screen will appear. It may seem that the installation has stopped, if your network speed is slow, but please let it continue.
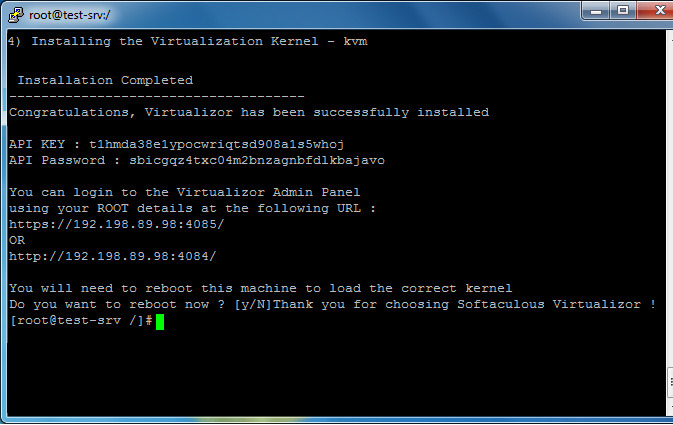
After this the setup will automatically do following steps: - Install PHP, MySQL and Web Server. - Downloading and Installing Virtualizor - Installing the Virtualization kernel – kvm
After the installation is completed you will be asked to reboot.
Note : A log file of the installation process will be created - /root/virtualizor.log
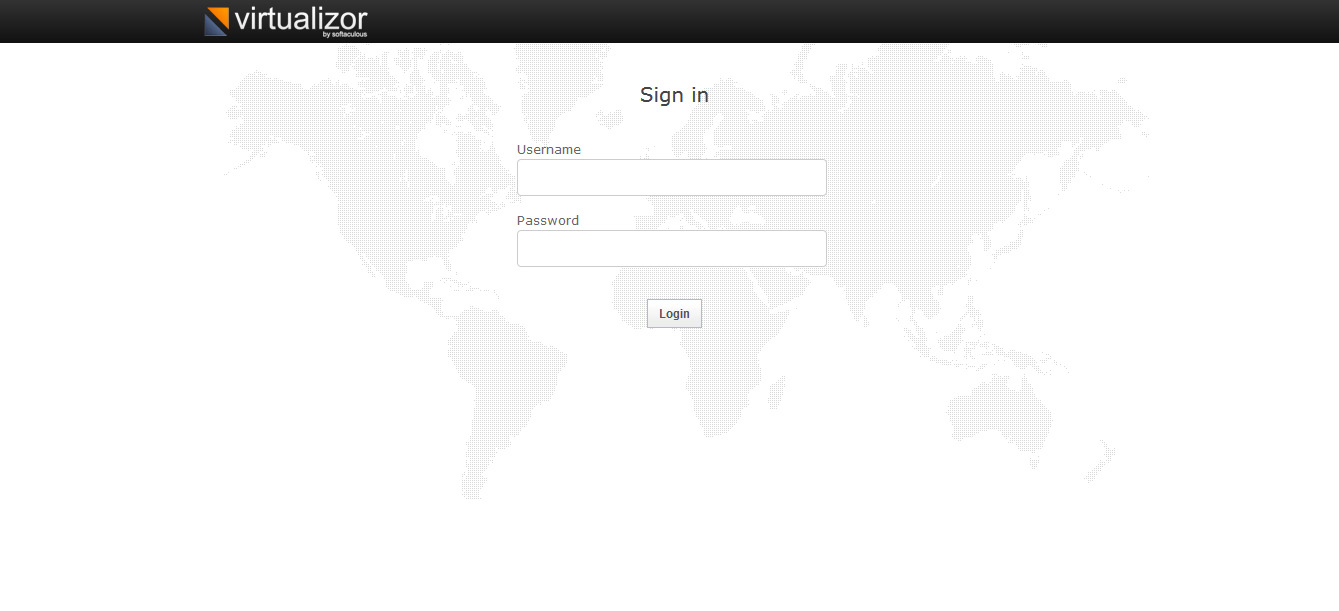
Once Virualizor finally installs, you can access the login by visiting the following URL:
     https://Your-IP:4085/
     http://Your-IP:4084/
     Your login will be:
     username: your_server_user
     password: your_password
Manage Virtualizor
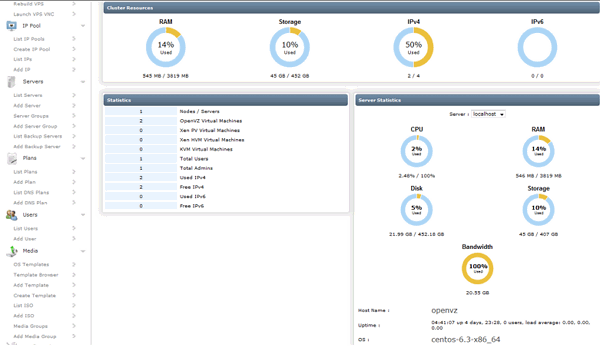
After you login, you will see the Admin Panel Dashboard:
