Talk:Xenserver
Hello!
Welcome to the beginning of the tutorial (how-to) Series Virtual Tapioca. In this first post I will be teaching you how to create a repository (ISO images from CD / DVD) in local disk (HD in which the system was installed XenServer) Linux template using the "Demo Linux VM", which is in a Debian Linux system customziado by Citrix and with paravirtualized drivers (xentools) already installed.
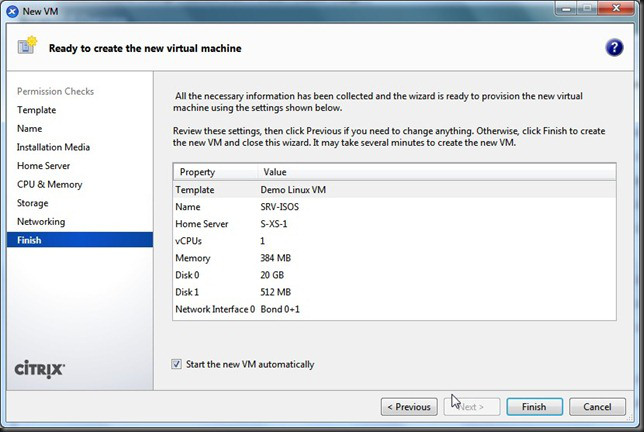
This environment is the use of 2 hosts and 10 VMs. The VM used to host the disks will have 384MB of RAM and 20GB disk for images (. Iso) CD / DVD used in the virtual environment.
Here we go!
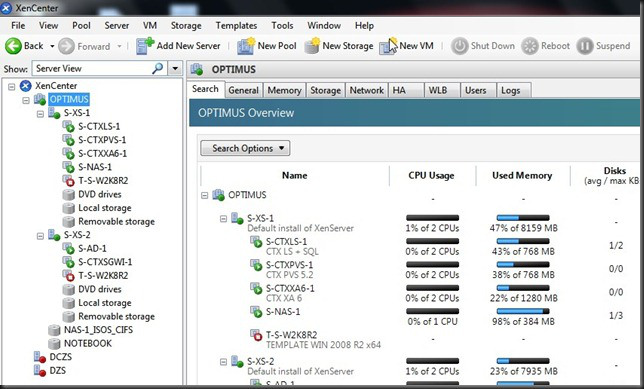
1 - If the servers are in a "pool" select this, otherwise click on the Host Server (Physical), then "New VM"
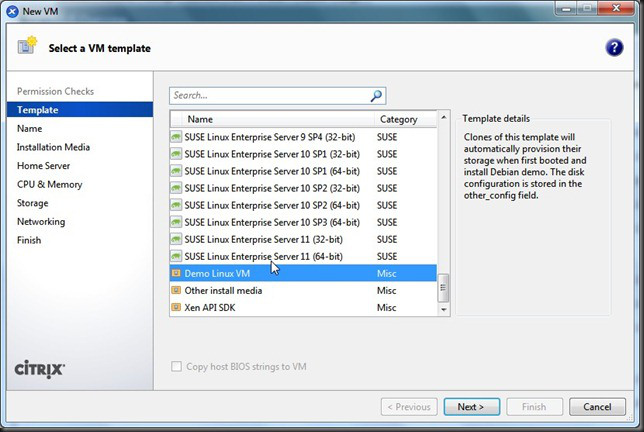
2 - Select Template "Demos Linux VM"
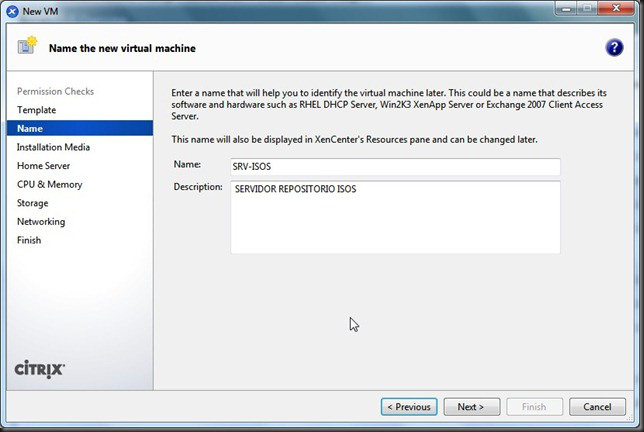
3 - Enter the display name for the VM and (optional) a description
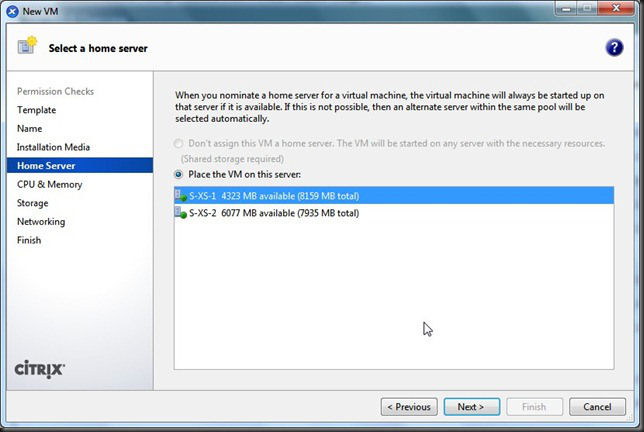
4 - If you are in a "pool" select Host where the VM is hosted. Remember, it is mandatory for this VM it is tied to the Host in which we store the images to DVD / CD. If you have a Storage and want to use this, feel free!
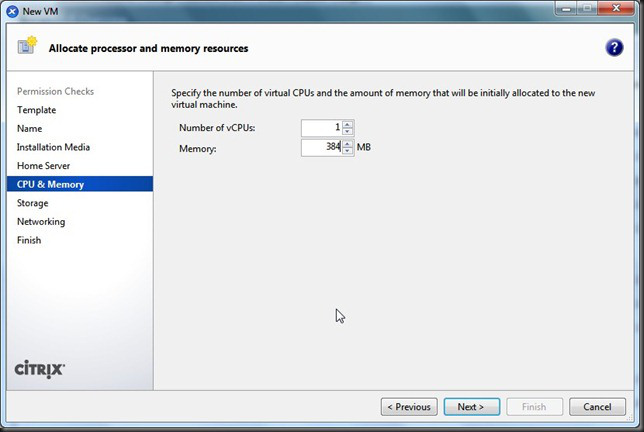
5 - Let qtade of vCPUs as "'1", but in the field we will use the value Memory 384MB.
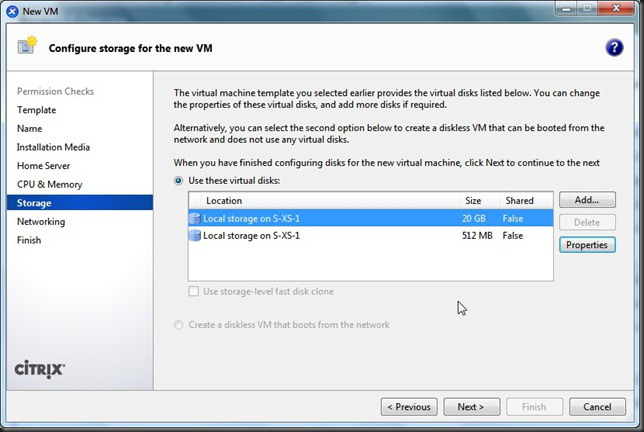
6 - Click on the first virtual hard disk (VHD), then "Properties" and change the size to 20480MB (20GB =)
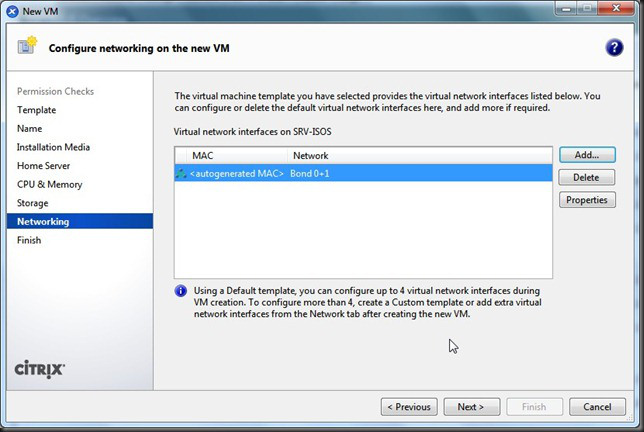
7 - Enter the virtual network interface (VIF). In this case it is about 2 physical network adapters in "Bond".
8 - Click the "Finish" button and wait for the VM start
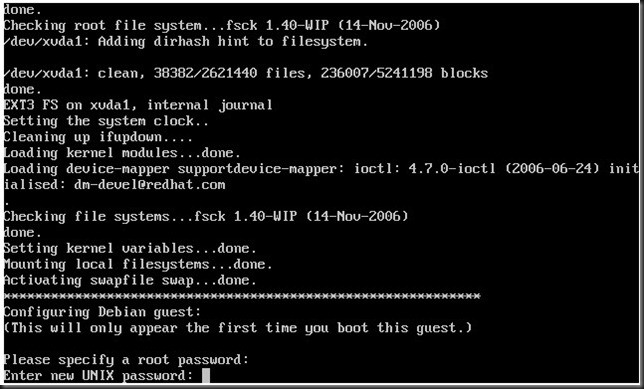
9 - Fill in the requested data (root password and password vnc) conform below.
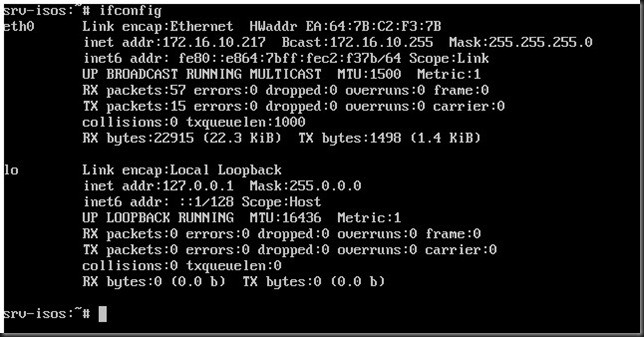
10 - If there is a DHCP Server in a VM Network won an IP in this example the address is "172.16.10.217"
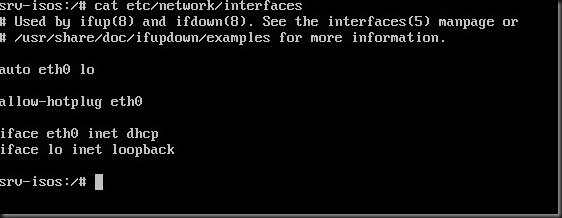
11 - To prevent problems with changing the IP address we will change the configuration file "/ etc / network / interfaces". Use the command "cat / etc / network / interfaces" to display the contents of the file without modifying it. See the line "iface eth0 inet dhcp". She says eth0 (the 1st. Detected by the system board network) are using DHCP.
12 - Create a backup of the file interfaces (line 1). Then we will use the editor * nano * to change the content (line 2)
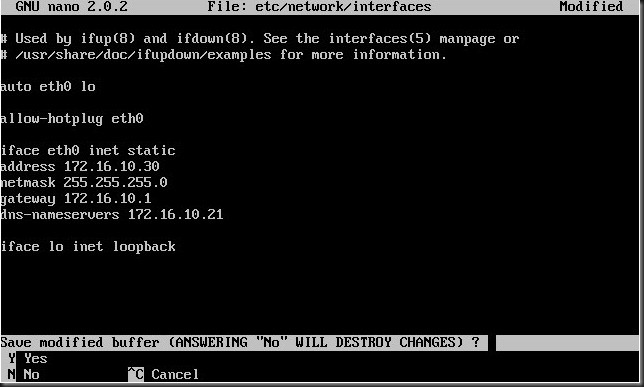
13 - Fill in the file as shown below, where: address
iface eth0 inet static XXXX IP address that will be used x.x.x.x netmask Subnet Mask used x.x.x.x Gateway gateway network dns-nameservers x.x.x.x address DNS Server
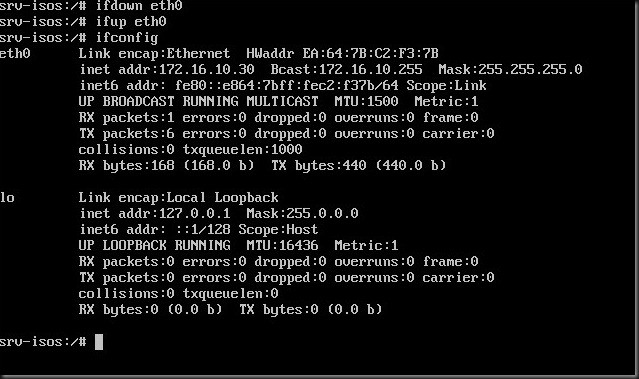
14 - After completing the data press "Ctrl + X" to exit and "Y" to save the content. After editing the file we will go and start the network card with the command "ifdown eth0" then "ifup eth0". To check if it worked type "ifconfig"
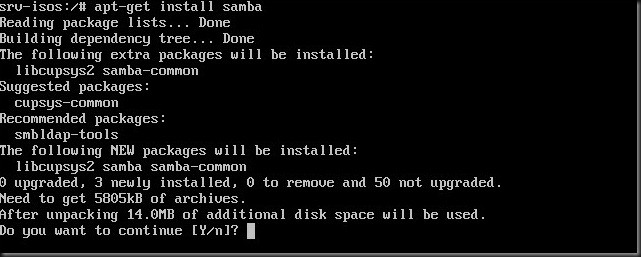
15 - Now with the configured network will update the repository packages with "apt-get update" command and install the necessary to share the ISOs (need Internet connection) packets. In the linux world is used "Samba" to share files with Windows machines. As with the ISO Storage we will use the CIFS will need to install the samba package with "apt-get install samba" command (pressing Y)
16 - At this point we will create the directory where we will store images of CD / DVD. In this example we will save them in the system root directory called "ISO".
s-in-1 :/ # mkdir ISOS
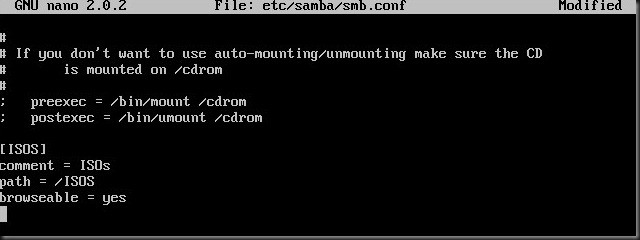
17 - Alright! With the directory created will set up the system by editing the smb.conf file with the command
nano /etc/samba.smb.conf
18 - Change the workgroup name as your domain (example: minhaempresa.local) but without the "local.".
19 - Insert the contents of the table at the end of smb.conf [ISOS] comment = ISOs path = / ISOS browseable = yes
20 - After filling the data is saved and with "Ctrl + x" and then "Y". Done that restart the Samba service with the command ./etc/init.d/samba restart
21 - That we may access this directory via XenServer is necessary to create a user. In the example we'll create one called "xenserver" 2 with the following commands:
useradd xenserver smbpasswd-a xenserver
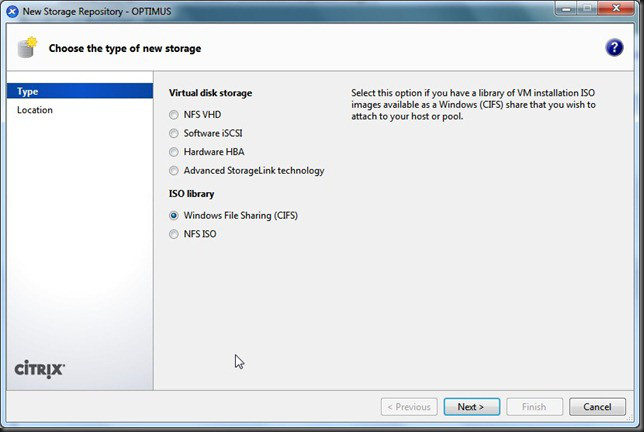
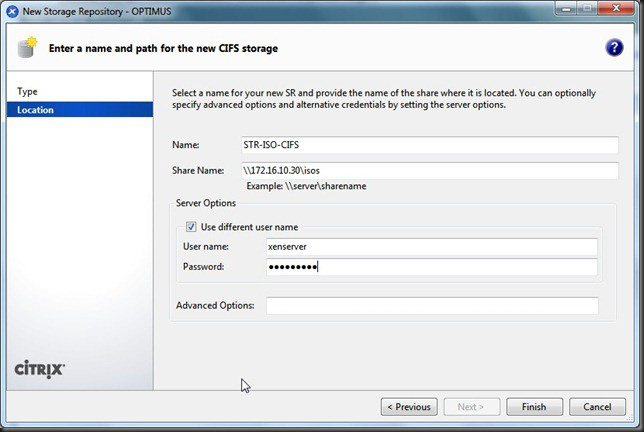
22 - Done (all of it) will set up in the XenCenter Storage ISO. For this we will click on "New Storage" and choose "Windows File Sharing" option in "ISO Library."
23 - In the name field put the descriptive Storage (I suggest something that indicates that it is a repository of ISO images). "Share Name" put the address + share. In our case the IP is 172.16.10.30 and the share name is "iso".
\\172.16.10.30\isos
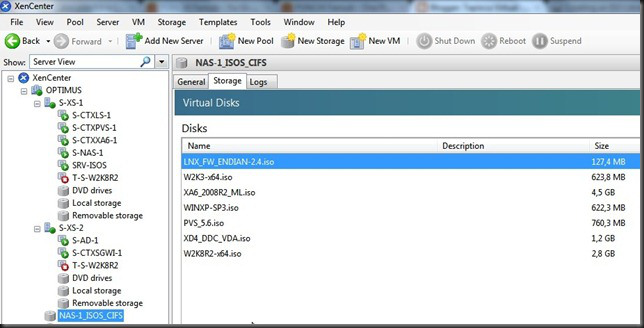
24 - Ready! We can now access our ISO repository and check by XenCenter all ISOs that we share:
Okay, any questions we are available
