SolusVM
SolusVM is a operating system that is installed to create virtual machines on a host. The operating system does not have a graphical interface on the server itself but is managed through a web interface.
Contents
Compatibility
| Manufacturer | CPU | Model | SolusVM 1.15 |
|---|---|---|---|
| HP | L5420 | HE_Proliant_SE1101 | Yes |
Installing SolusVM
There is no option yet to install SolusVM using the automatic provisioning system but it's pretty simple to install anyways so lets go!
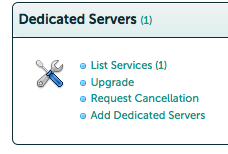
Log in to the client area on Dacentecs website. Under dedicated servers, click List Services,
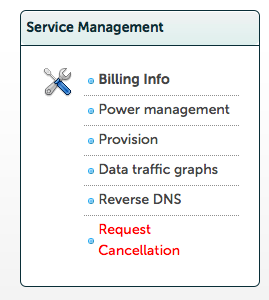
then choose the server you want to install on,
hit provisioning,
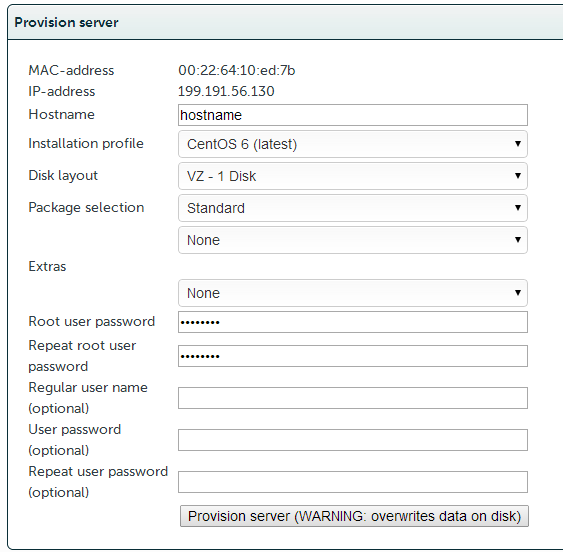
choose CentOS in the OS-list, (choose VZ in the partitioning if it's going to host OpenVZ machines,) enter a hostname, make sure you enter a root password and then customize the settings if you want to.
With CentOS installed we need to log in to the server, this can be done via ssh.
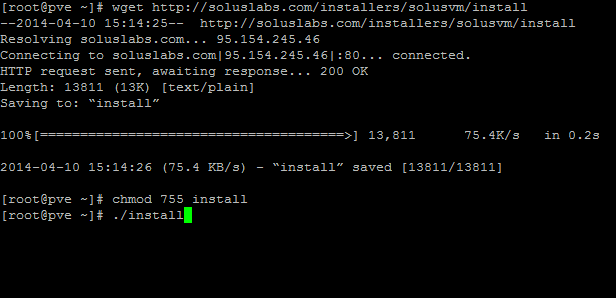
First we need to download the installer, to do this we run the following commands
     wget http://soluslabs.com/installers/solusvm/install
     chmod 755 install
     ./install
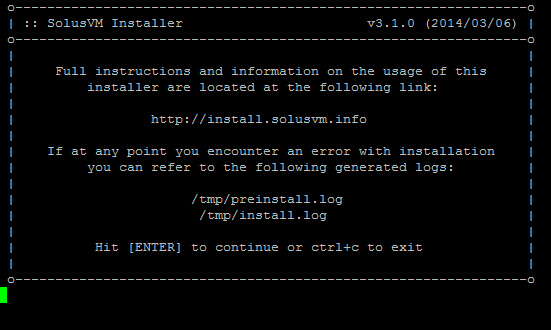
Press enter to start the installer.
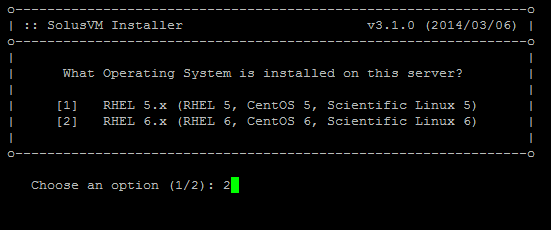
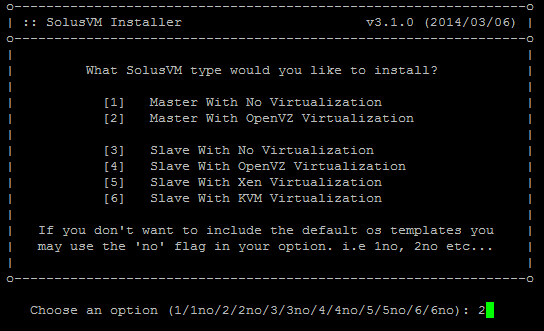
If you choose to install CentOS 6 in the provisioning guide, choose 2 here and hit enter.
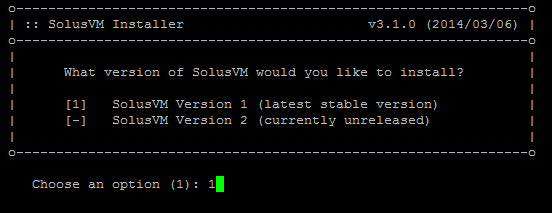
If you want a production server that is going to run critical VMs or if you are unsure, choose 1.
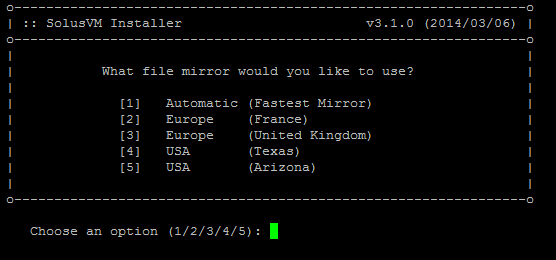
It's easiest to simply choose 1 and let it choose what server to download from.
Now its time to choose what kind of a server this will be. In this case, this is the first server so I'll choose number 2 (Master With OpenVZ Virtualization), if this is the second vps node you can choose any of the slave options you want.
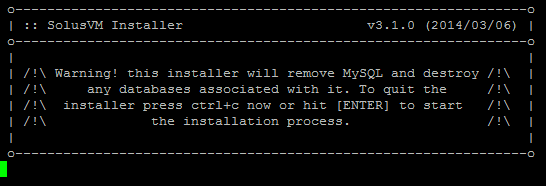
You will receive a warning that the installer will remove any MySQL databases on the server. The server I am installing on is a clean CentOS server that I just installed so I don't have any databases to backup. If you do (and need them), make sure you save them.
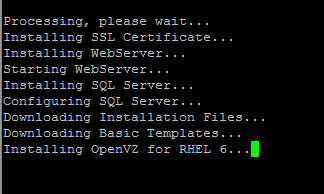
The installation will now begin and you can go get a coffee, but nothing more than that because the install is soon complete.
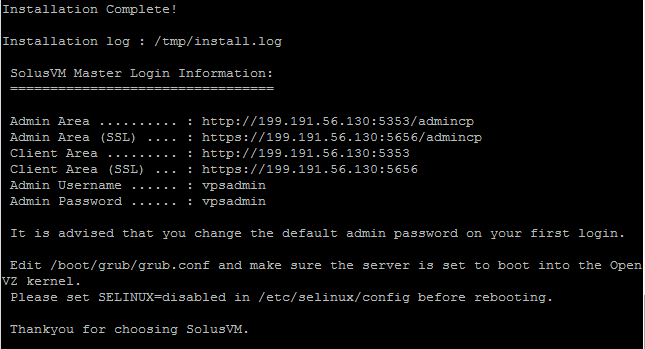
The login details will now be displayed in the terminal window. It will look something like this:
     SolusVM Master Login Information:
     =================================

     Admin Area .......... : http://199.191.56.130:5353/admincp
     Admin Area (SSL) .... : https://199.191.56.130:5656/admincp
     Client Area ......... : http://199.191.56.130:5353
     Client Area (SSL) ... : https://199.191.56.130:5656
     Admin Username ...... : vpsadmin
     Admin Password ...... : vpsadmin
Save these details as you will need them later.
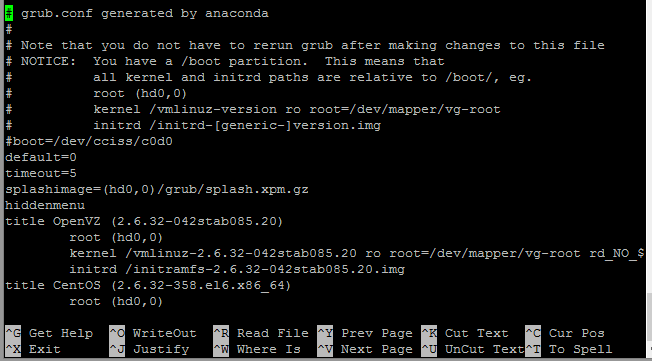
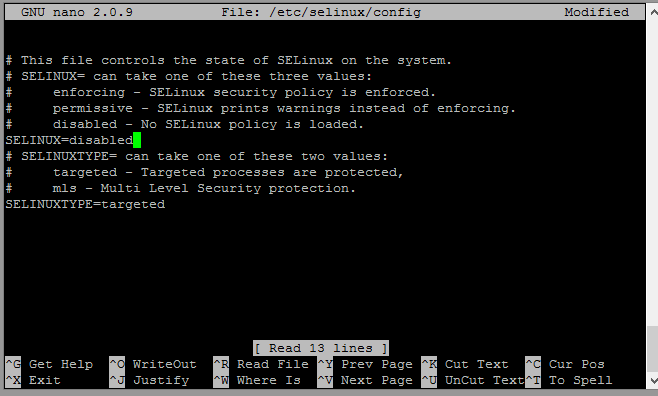
And as it says in the terminal, we need to check our Grub config and set SELINUX to disabled.
To do this we can simply use nano or vi to check the file .
We will use the command
nano /boot/grub/grub.conf
In my case OpenVZ is the default option as its above CentOS.
I'll simply press CTRL and X at the same time to close the editor.
then we will typ
nano /etc/selinux/config
and edit SELINUX to disabled, it should look something like this.
To save and exit press CTRL + X. When it asks if we want to save, press Y.
Then hit enter to save with the original name.
To check that all of the edits work we restart the server with the command
shutdown 0 -r
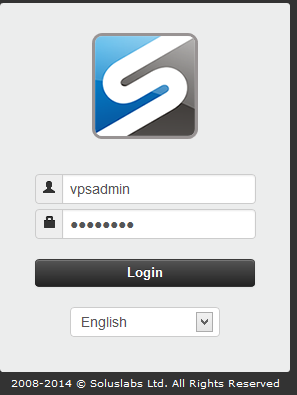
When the server is back online log in to the webinterface using the details we saved before.
We need to enter our license key the first time we log on to the system.
Managing SolusVM
Changing the admin password
First lets change the account password for better security.
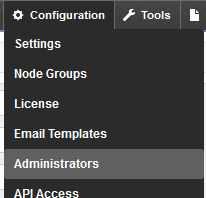
Go to Configuration --> Administrators
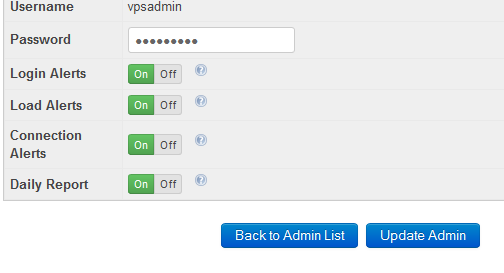
Then choose the vpsadmin account and edit the password.
You will need to enter a name and a email for it to accept your details.
Prerequisite
Adding IP-addresses
Then before we can create a VM, we need to add some IP-adresses. Click IP Blocks.
Then click add IPv4 block.
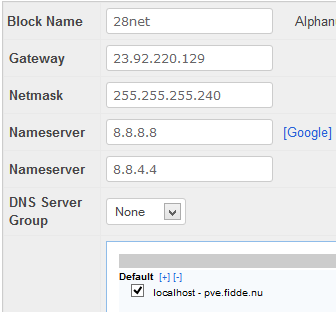
With this information
We will use the following configuration:
If you choose to use Google's DNS servers (8.8.8.8 and 8.8.4.4) you can press the Google link to automatically insert them.
Click add addresses to block.
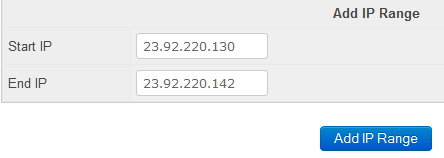
Then under range, add the range of addressees you want to use.
When you have added your addresses to the list go back to "IP Blocks" and we will add IPv6 address.
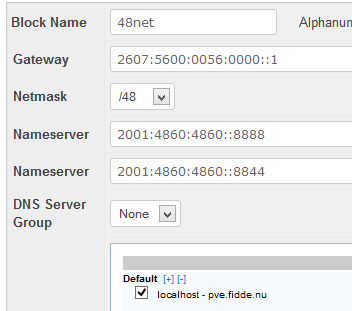
Click add ipv6 block then enter the gateway you got in your info-mail (you need to ask to get ipv6 addresses but they are free).
Click to add addresses to the block.
Then use the random generator to get some addresses to your range.
Downloading templates
Now we need to get some templates.
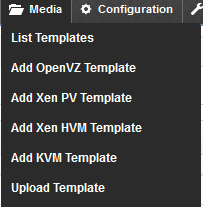
To add new templates go to Media --> Upload teamplate. There you can enter the address to an template.
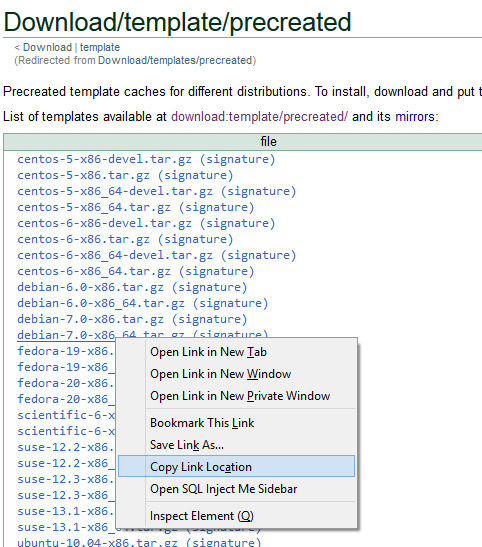
There is a list of created templates that can be used on the OpenVZ.org website. Don't look under Beta Templates on the site unless you know what you are doing!
To get the link to one of the files, simply right click the name (example debian-7.0-x86_64.tar.gz) and choose "copy link location" in your browser.
Then simply paste that link in to the URL field on the Upload Template page.
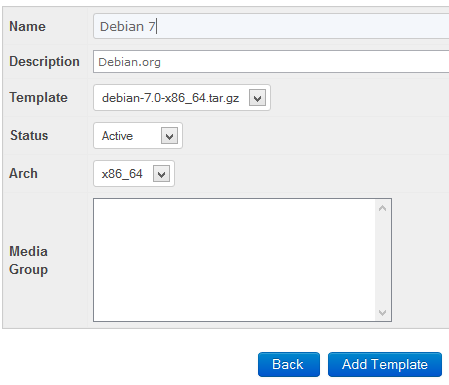
When it's done we will click Media --> Add OpenVZ template
There we will name it, give it a description select the template to use and the Arch (if the file you downloaded contains x86_64 choose that and if it only contains x86, choose i386
Adding clients
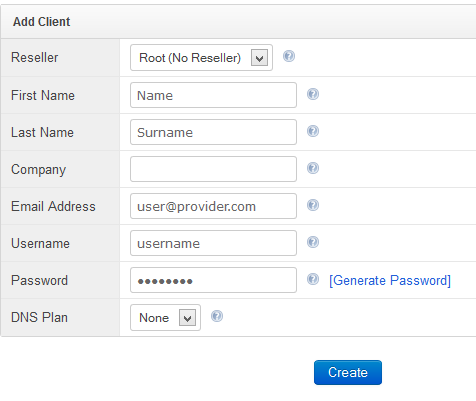
Before we can create our first VM we have to create a client. Go to Clients --> Add client.
Fill in the form and click "add client"
Creating the VM
On the right there is a quick access menu, there is a button to create a VM, click it. (Or click create a server after a client is created)
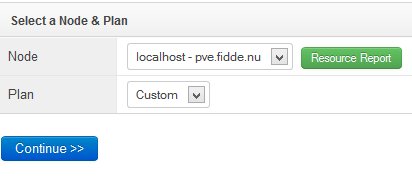
Then I'll choose the server itself as the node. Because I have not setup any Plans I'll simply choose Custom.
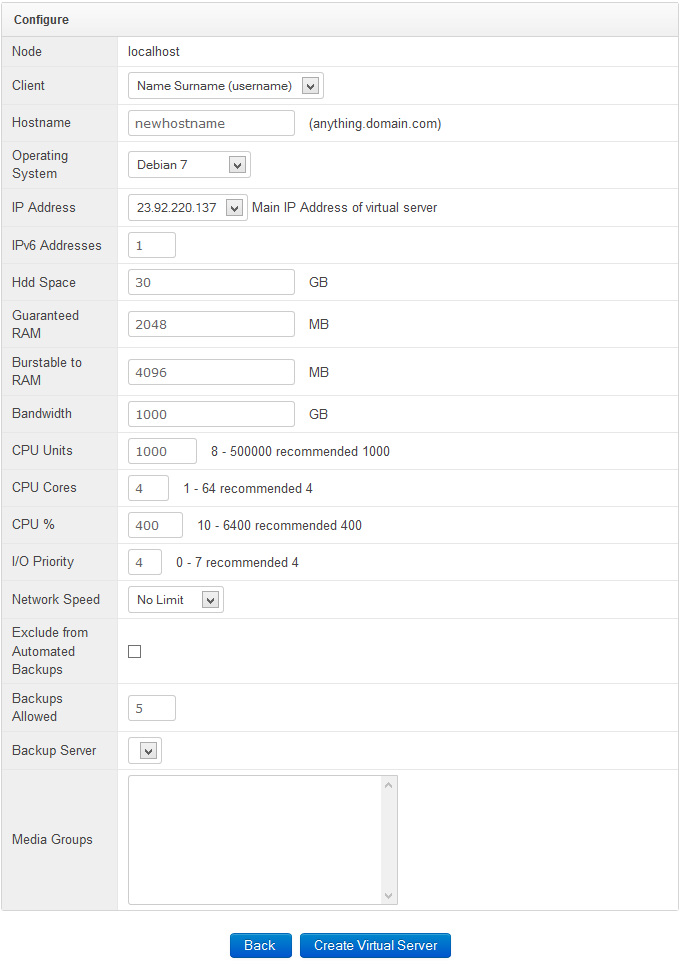
Fill out the settings you want to use for the vm and hit create.
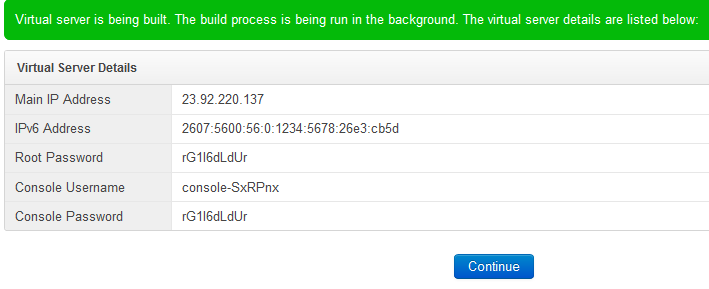
Then you will get to a page were you will see all of the details to connect to the new VM.
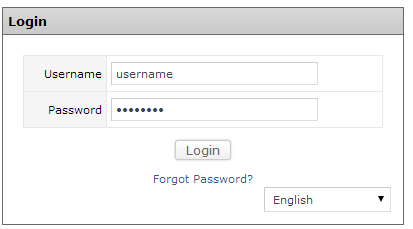
When you have created the VM you can either manage it using the admin pages or you can use the client login to change settings.
As I don't need to change any settings I can simply connect to the server using SSH and manage it that way.
Guide written by Fredrik Vittfarne
