Proxmox
Proxmox is a operating system that is installed to create virtual machines on a host. The operating system does not have a graphical interface on the server itself but is managed through a web interface.
Contents
Compatibility
| Manufacturer | CPU | Model | Proxmox 3.1 |
|---|---|---|---|
| HP | L5420 | HE_Proliant_SE1101 | Yes |
Installing Proxmox
Thanks to Dacentecs automatic OS-install tool you don't have to download Proxmox to your local computer and then upload it to your server. You can simply choose it in the install tool in the client area. If you want to install is manually yourself Proxmox can be downloaded from proxmox.com.
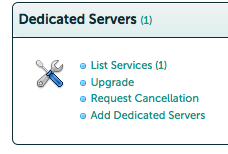
Log in to the client area on Dacentecs website. Under dedicated servers, click List Services,
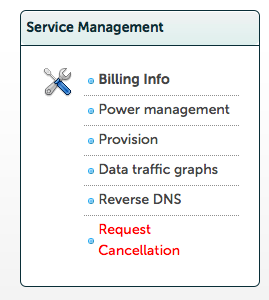
then choose the server you want to install on,
hit provisioning,
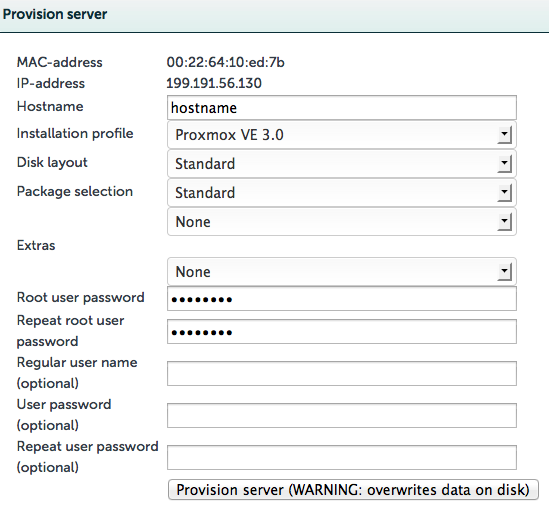
choose Proxmox in the OS-list, enter a hostname, make sure you enter a root password and then customize the settings if you want to.
Thats it, Proxmox is now installed!
Managing Proxmox
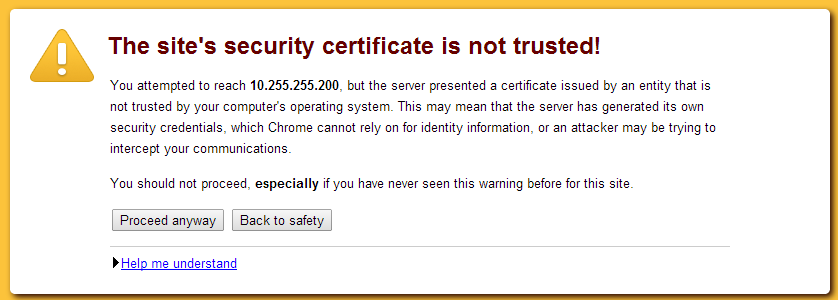
The web interface is by default accessible via https:// your ip/hostname :8006 (example: https://12.12.12.12:8006) and because it's a self signed certificate the site will display a warning looking something like this:
This warning can be ignored and a valid certificate can later be installed. You can read more about SSL here.
You might also get a warning saying You do not have a valid subscription for this server. Please visit www.proxmox.com to get a list of available options. This is nothing to worry about, Proxmox is simply telling you that you don't have any active support license (paid support) for Proxmox. There is a guide to remove this warning here.
Create virtual machines
After you have initially installed Proxmox and logged in to the web interface you are ready to create your first VM.
Creating OpenVZ machines
OpenVZ machines require one public IP per machine! Have a look at the IP justification page! Only certain Linux operating systems can be created using OpenVZ. A list of available precreated templates can be found here. These templates can be downloaded to the server and used to create OpenVZ containers. OpenVZ containers only take up the amount of disk space that is currently in use by the VM.
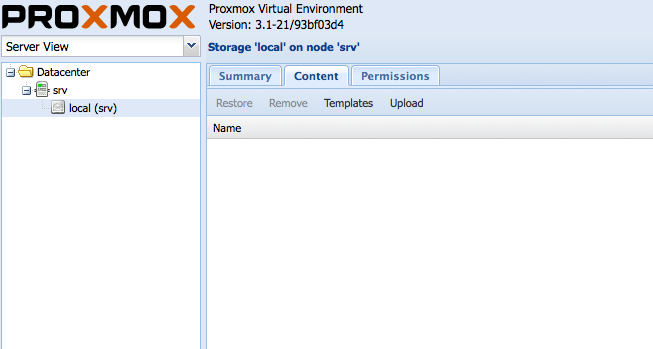
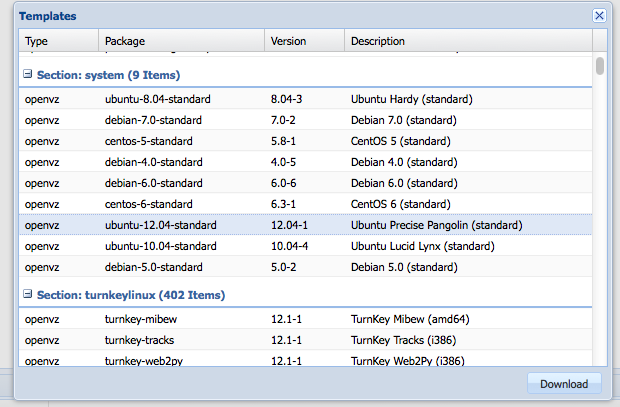
To create a OpenVZ machine, you first need to download a template. To do this, click storage, then, click content, click the templates button,
choose the template you want to install and hit download.
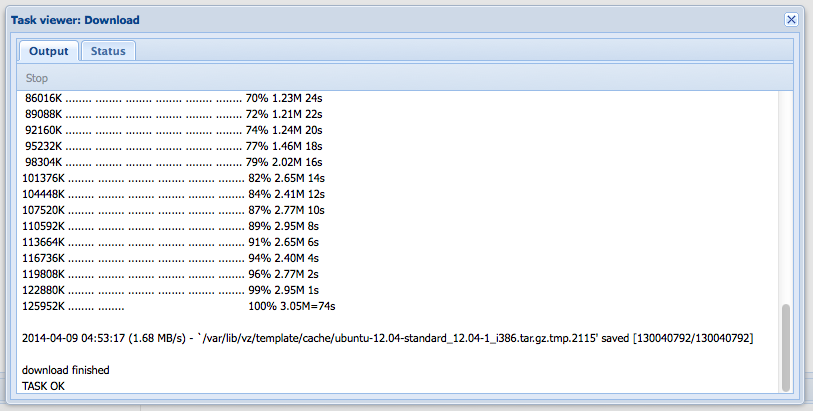
As the file downloads, you can see a output to a box in the browser. During the download, you can close this box and let the server download in the background.
When the download is complete, you can hit the create CT-button.
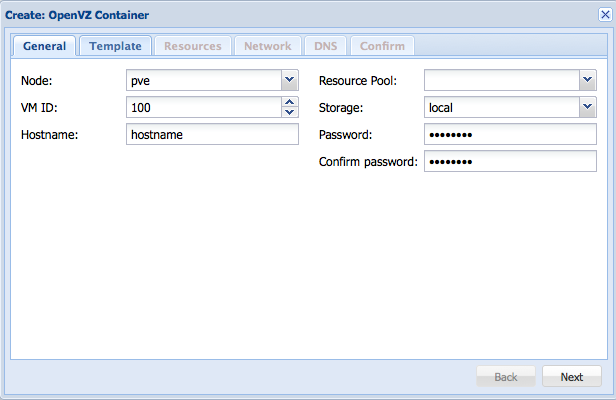
In the box that pops up, fill in a name and password, then hit next.
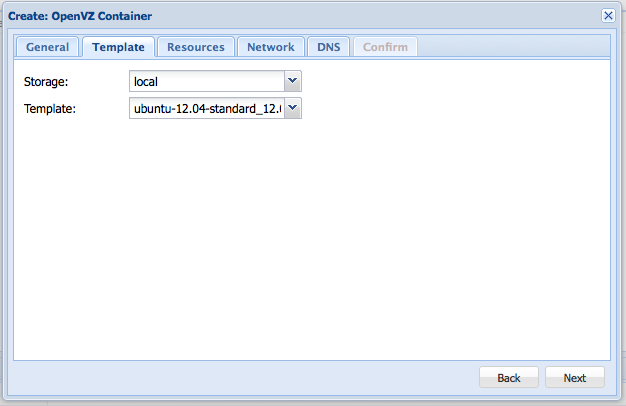
In the next step, choose the template you want to use and hit next.
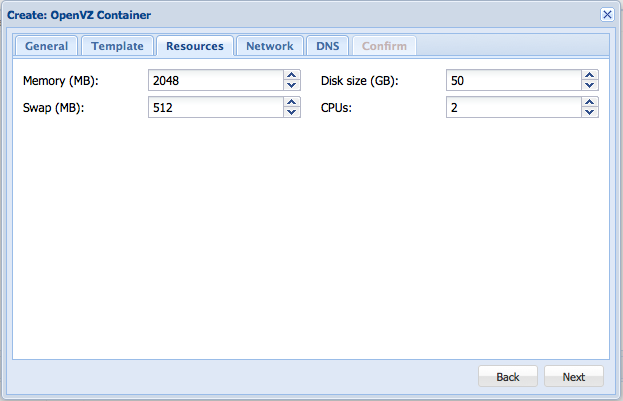
Give it some resources and hit next,
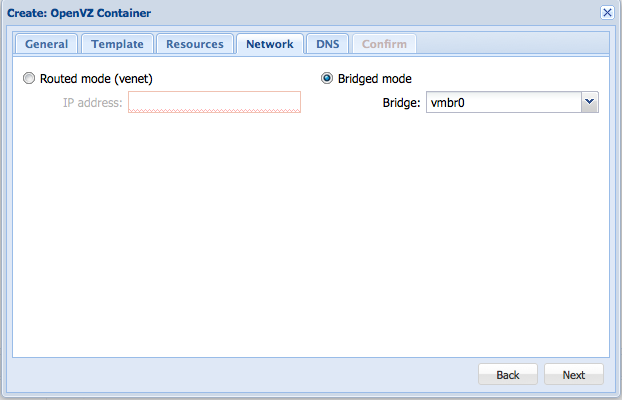
In the network selection, choose Bridged Mode. We will have to setup IPs later.
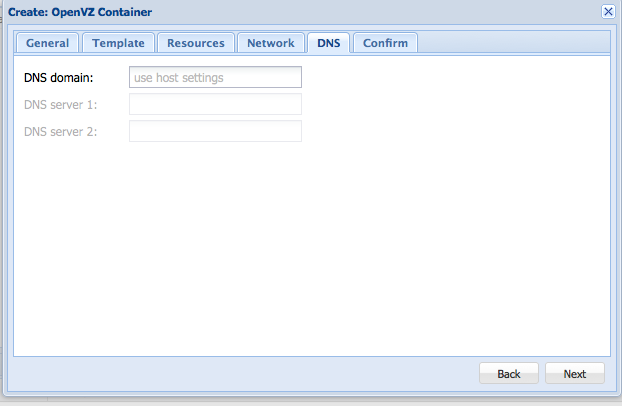
If you don't wish to change DNS servers or don't know what it is, leave this setting alone and hit next.
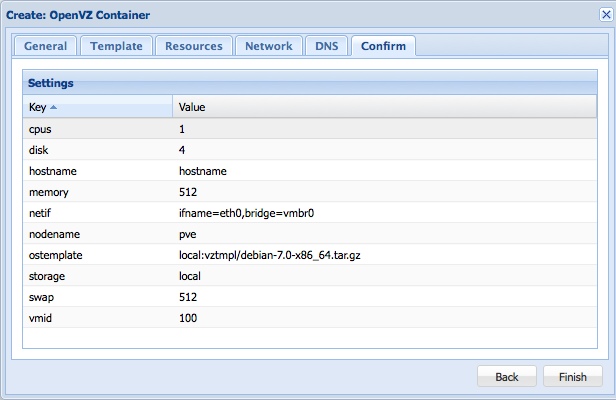
If all settings seem fine, hit the finish button!
Nice! Now you can start your VM!
Just hit the start button!
Check the network section to get the server online.
Creating standard virtual machines
To create a standard virtual machine, you need to upload an ISO to the server, to to this, go to, storage, then click content, and hit the upload button.
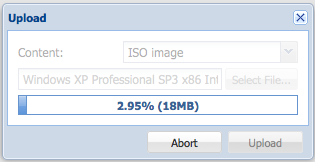
in the window that pops up, choose an ISO-file and hit upload.
Then you can follow the wizard. Simply press the Create VM button.
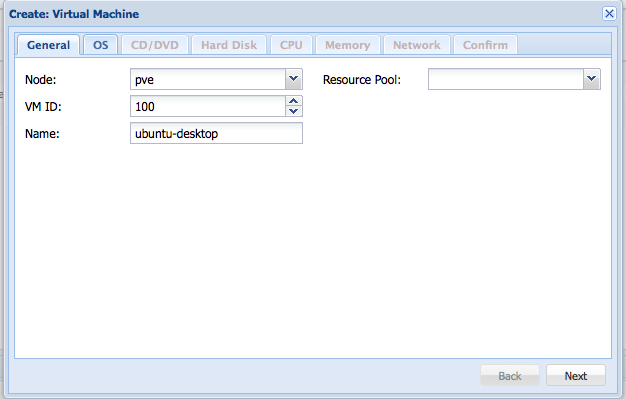
Then, enter a name for the VM.
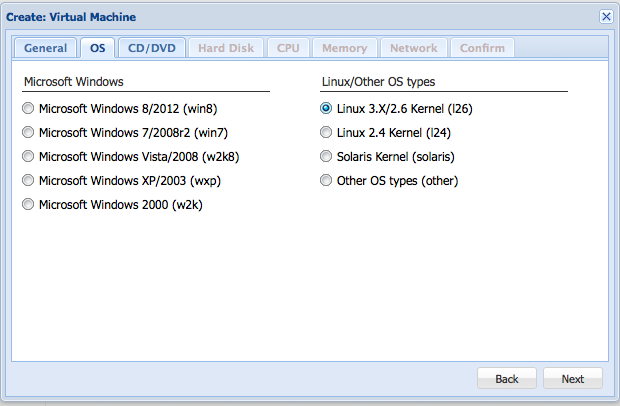
After that, select the OS that you are going to install.
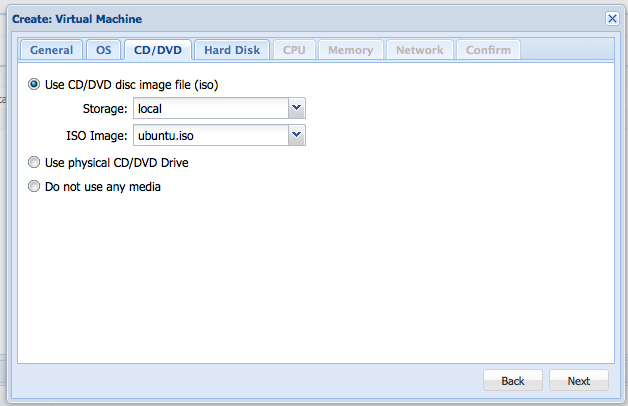
After that, select the ISO or other type of media you want to install from.
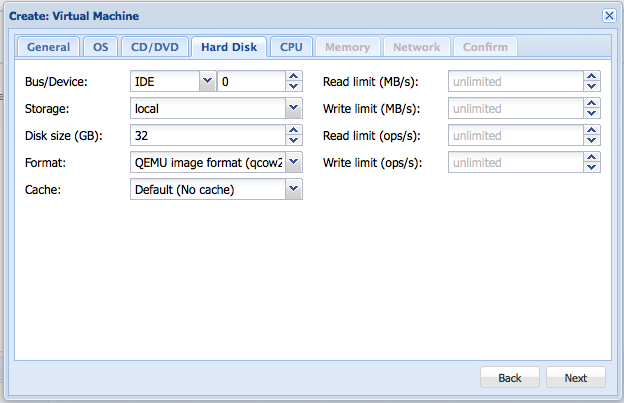
Then choose the hard drive settings, if you don't know what a settings does, don't change it. The only thing you need to have a look at is disk space. The disk space is taken up immediately after creation so don't set a huge amount here.
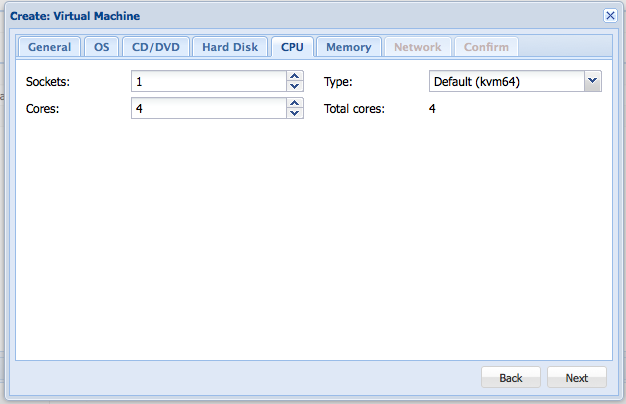
Then, select the amount of cpu-resources that the VM can use.
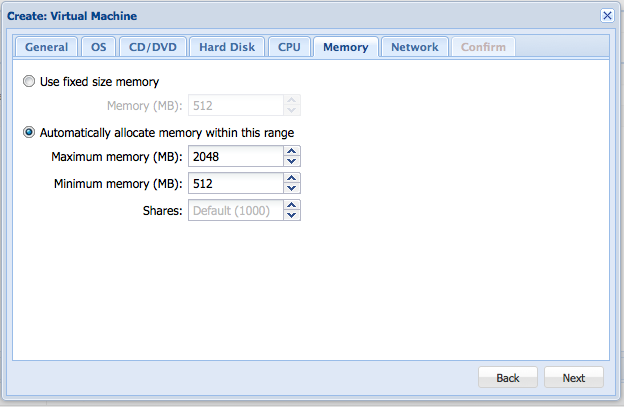
Then choose the amount of memory (RAM) to give the server.
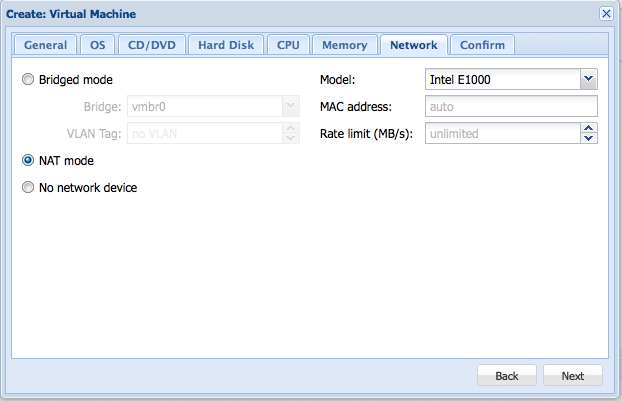
For the network mode, you would be best of setting the value to NAT if you don't need to have any port open to the server. If you choose NAT, the network will automatically work and there is no more work setting it up. If you choose bridged you need to follow the configuration under the network section.
If you are happy, click finish.
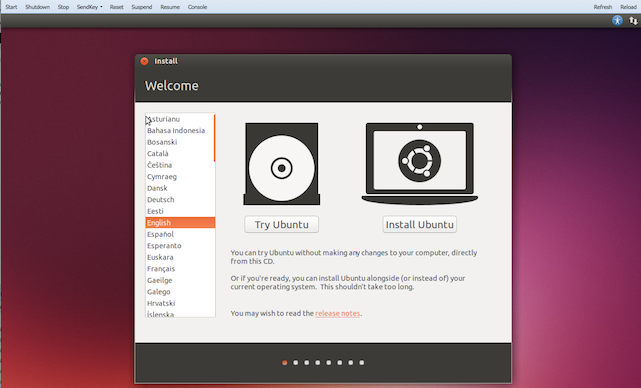
Then you can start the VM.
Click the Console button to see the screen of the VM.
Network connectivity
To get network connectivity you have to edit the interface file.
First either connect to the Proxmox machine via SSH and type
vzctl enter [container id]
example vzctl enter 100
or use the console tool in the Proxmox web-interface.
Debian and Ubuntu
If your created a Debian or Ubuntu VM go to the command line of the VM and do the following.
type
vi /etc/network/interfaces
and hit enter.
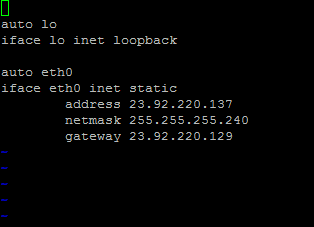
With my configuration:
I would use this configuration
       auto eth0
       iface eth0 inet static
       address 23.92.220.137
       netmask 255.255.255.240
       gateway 23.92.220.129
Insert the information in to the file. (Press I to edit the file, when you are done, press ESC and type :wq! and hit enter to save).
It would look something like this,
Replace address with one of your "free" addresses, netmask with your Mask, and gateway with your gateway.
When you are done type
service networking restart
and hit enter.
Now you could test your connectivity by writing
ping 8.8.8.8
To stop the ping press CTRL and C at the same time.
If the ping is successful it would look something like this,
CentOS
If your created a CentOS VM go to the command line of the VM and do the following.
type
vi /etc/sysconfig/network-scripts/ifcfg-eth0
and hit enter.
With my configuration:
I would use this configuration
       DEVICE="eth0"
       BOOTPROTO="static"
       IPADDR="23.92.220.137"
       NETMASK="255.255.255.240"
       ONBOOT="yes"
       GATEWAY="23.92.220.129"
To enable this network I would type
ifup eth0
Now the network connection should be established.
Common errors
Some servers might experience problems with the auto installer and can't create VMs. Then this commands might help.
       apt-get remove linux-image-amd64 linux-image-3.2.0-4-amd64
       update-grub
After that it works on the HE_Proliant_SE1101 server.
